Today we will work with a couple of tools to help improve minor imperfections in our photos. Download the 2 photos below, retouch them, and upload the before and after pictures to your blog.
Today we will discuss the Burning and Dodging tools in photoshop. I will give a demonstration in class but there is a great tutorial here if you need to see it written out step by step. The tutorial covers everything i will show in class. After I show you how to use the tools you will post an example of your use of the tools. The instructions and examples are below: Post a before and after picture demonstrating your use of the Burn and dodge tools in Photoshop. The burn tool will darken areas of your image, and the Dodge tool will lighten areas of your image. In a brief paragraph explain the areas that you burned and dodged. Follow the example below: Original Photograph
Dodged and Burned Photograph
I dodged the highlights on the bananas and in the blurry chair in the backgound. I felt like the picture would be stronger if you could better see the details in the distance. I burned the details in the glass bowl as well as in the bananas because I felt that the bowl was too grayish and i wanted more contrast. Finally I burned the wall on the right of the bowl because it was hard to see where the bowl ended and the wall began.
Change a color photo to black and white Open a photograph you have taken Using the Hue-Saturation Adjustment layer, convert the picture to black and white. Post the original and De-Saturated (black and White) to your blog.
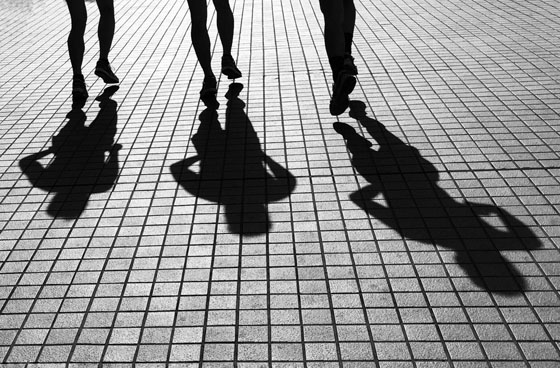
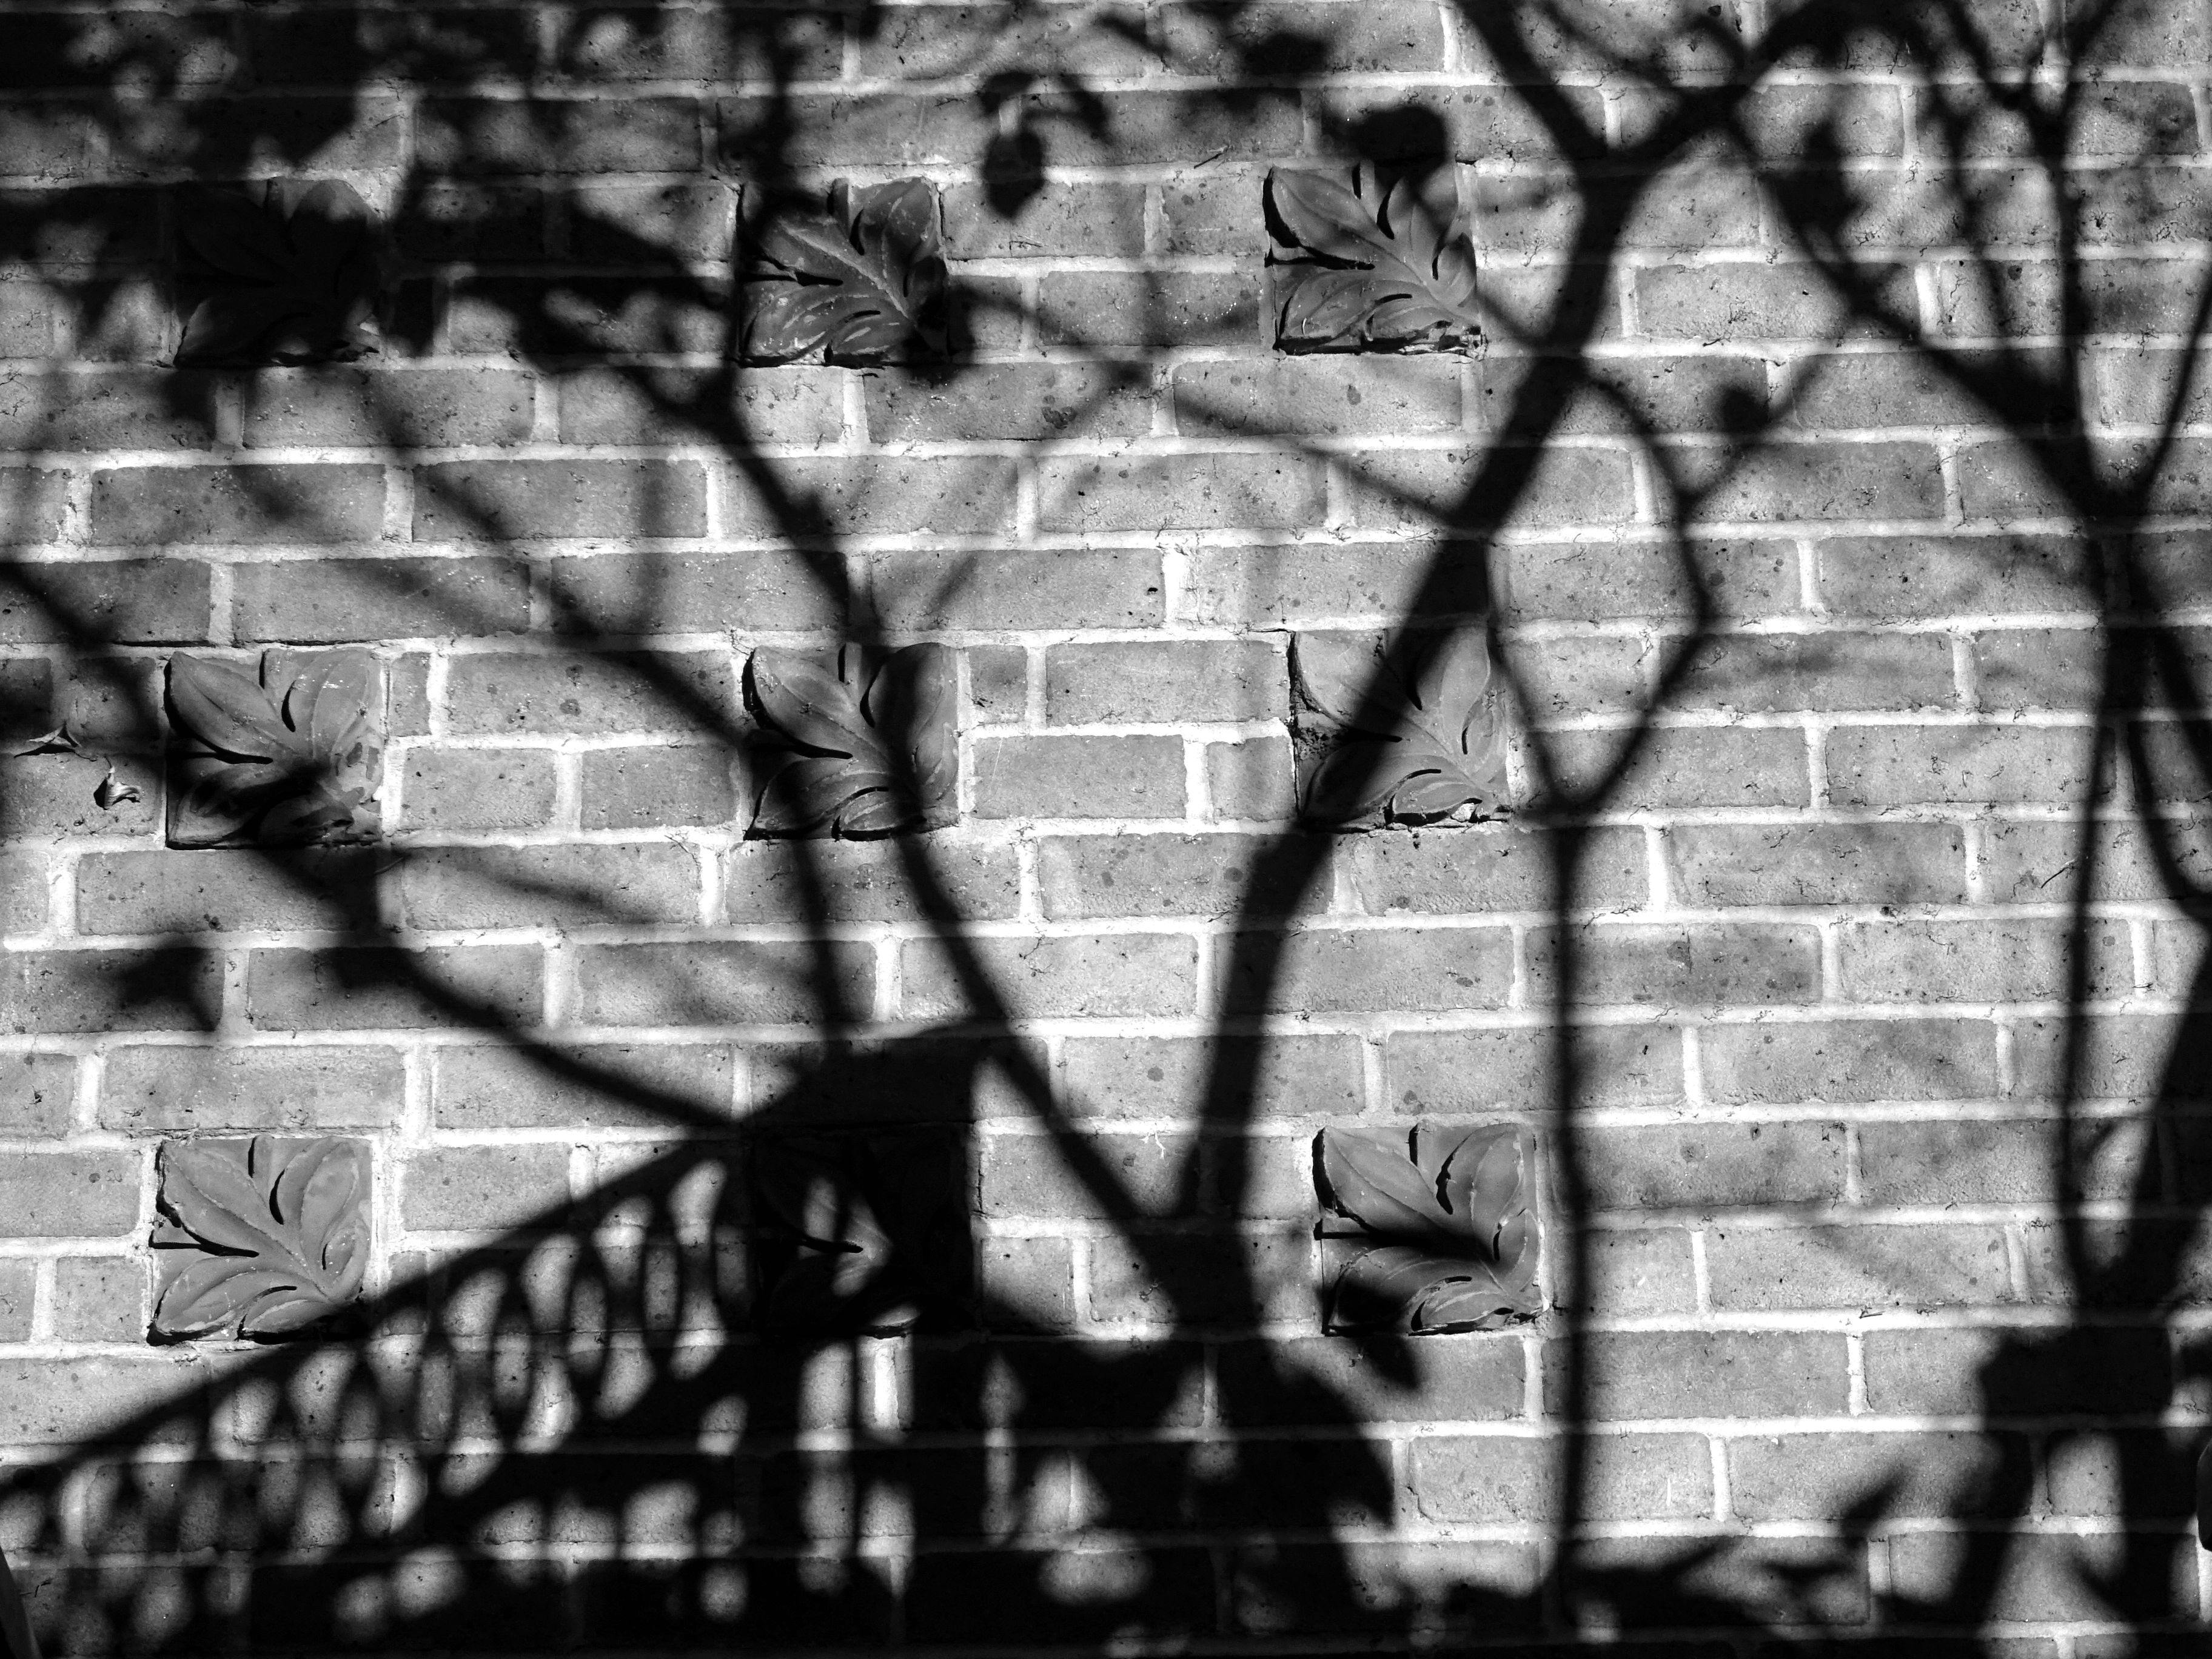
Creative Shadows Principles of Design Points of View and Leading Lines Rule of Thirds Scholastic magazine - Photojournalism Elements of Exposure Review - Technical Challenge Aperture - Depth of Field
Usually we would not take photos at noon on a bright sunny day, but one thing we can do is take pictures of Shadows. Go out and take at least 10 great pictures of shadows, using Repetition, Balance, Emphasis. Take some that feature natural objects and some that use man-made objects.


